Trial of Valor is a new type of Trial added in the "Age of Strife" update. Completing one grants an additional Catalyst, and can be done without forcing an exile, unlike Trial of the Skill.
How it Works[]
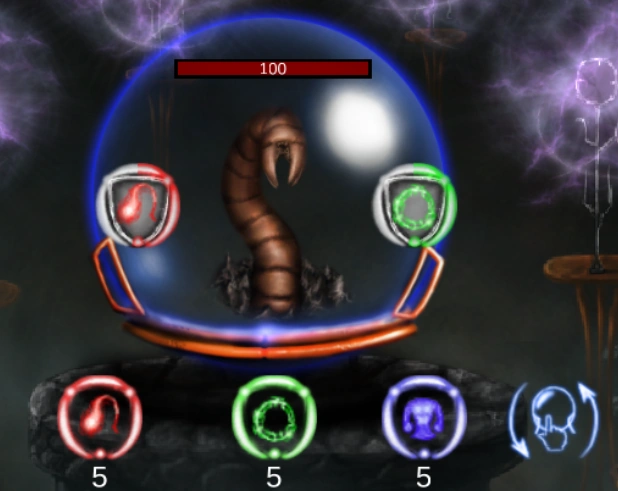
When you start a Trial of Valor, your orb is automatically changed to a standard orb, with a monster in it. Your run continues as normal except the orb. It looks like this:
In the orb, we see our monster, his health, and his two shields. Just below that, we have a button on the right to return to the normal orb view (where you can click and play the game as normal. When you press this button the Trial is paused and your spells won't recharge, the monster will also not regenerate health), and our 3 spell types: evocation, incantation, and summon, each with the full 5 charges.
We can click on any of these spells (or use the hotkeys: left, down, and right) to cast them. Casting a spell does 10 damage, but if the enemy monster has a matching shield in place, damage will be reduced, and it'll be reduced even further if both shields block your spell. You can tell how effective your spell was by the size of the graphical effect on the monster.
The challenge lies in that the monster is constantly switching his shields, briefly increasing in pace after a spell is cast, making it hard to react and cast at the right moment. In addition, the monster's health regenerates, making it imperative that you act fairly quickly, casting your spells when they're not on their 10s cooldown.
If you fail a Trial of Valor, the monster will sit there, and it's health will remain the same, until you invest another trial rune to "refill", charging your spells back to 5, while the monster remains at the health it had when you cast your last spell. If you don't have any leftover runes, simply use the button on the right to switch back to your run, and return when you have another rune to finish the job.
Monsters[]
Different monsters have different strengths and weaknesses. Worms have higher regeneration, skeletons block more damage, and golems have higher HP. This changes the optimal strategy. For example, when fighting a worm, you'll want to attack more recklessly, so as to prevent him from regenerating too much. Whereas when fighting a skeleton, you'll want to be more careful and wait for the shields to slow their cycle, since they block even more damage.
Worm[]

- Max Health: 100
- Regeneration: 1 HP every 1s
- Unshielded Damage: 20
- Damage with 1 shield: 7
- Damage with 2 shields: 3
- Spell Cooldown: 4 seconds
- Shield Cooldown Modifier: +2 seconds
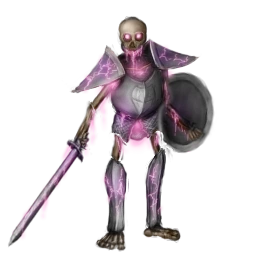
Skeleton[]
- Max Health: 90
- Regeneration: 1 HP every 10s
- Unshielded Damage: 10
- Damage with 1 shield: 2
- Damage with 2 shields: 1
- Spell Cooldown: 5 seconds
- Shield Cooldown Modifier: +1 seconds
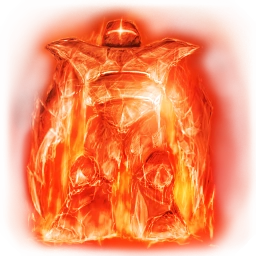
Golem[]

- Max Health: 120
- Regeneration: 1 HP every 40s
- Unshielded Damage: 10
- Damage with 1 shield: 5
- Damage with 2 shields: 3
- Spell Cooldown: 5 seconds
- Shield Cooldown Modifier: +2 seconds
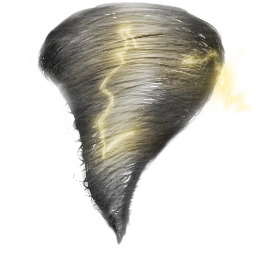
Twister[]

- Max Health: 100
- Regeneration: No Regeneration
- Unshielded Damage: 12
- Damage with 1 shield: 8
- Damage with 2 shields: 5
- Spell Cooldown: 1.25 seconds
- Shield Cooldown Modifier: +0.25 seconds
Ghost Ship[]


- Max Health: 130
- Regeneration: No Regeneration
- Unshielded Damage: 10
- Damage with 1 shield: 7
- Damage with 2 shields: 5
- Spell Cooldown: 5 seconds
- Shield Cooldown Modifier: +4 seconds
Shroom[]
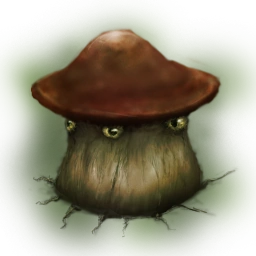

- Max Health: 60
- Regeneration: 1 HP every 4s
- Unshielded Damage: 10
- Damage with 1 shield: Heals 2 HP
- Damage with 2 shields: Heals 14 HP
- Spell Cooldown: 3.75 seconds
- Shield Cooldown Modifier: +1 seconds